Last updated November 21, 2026
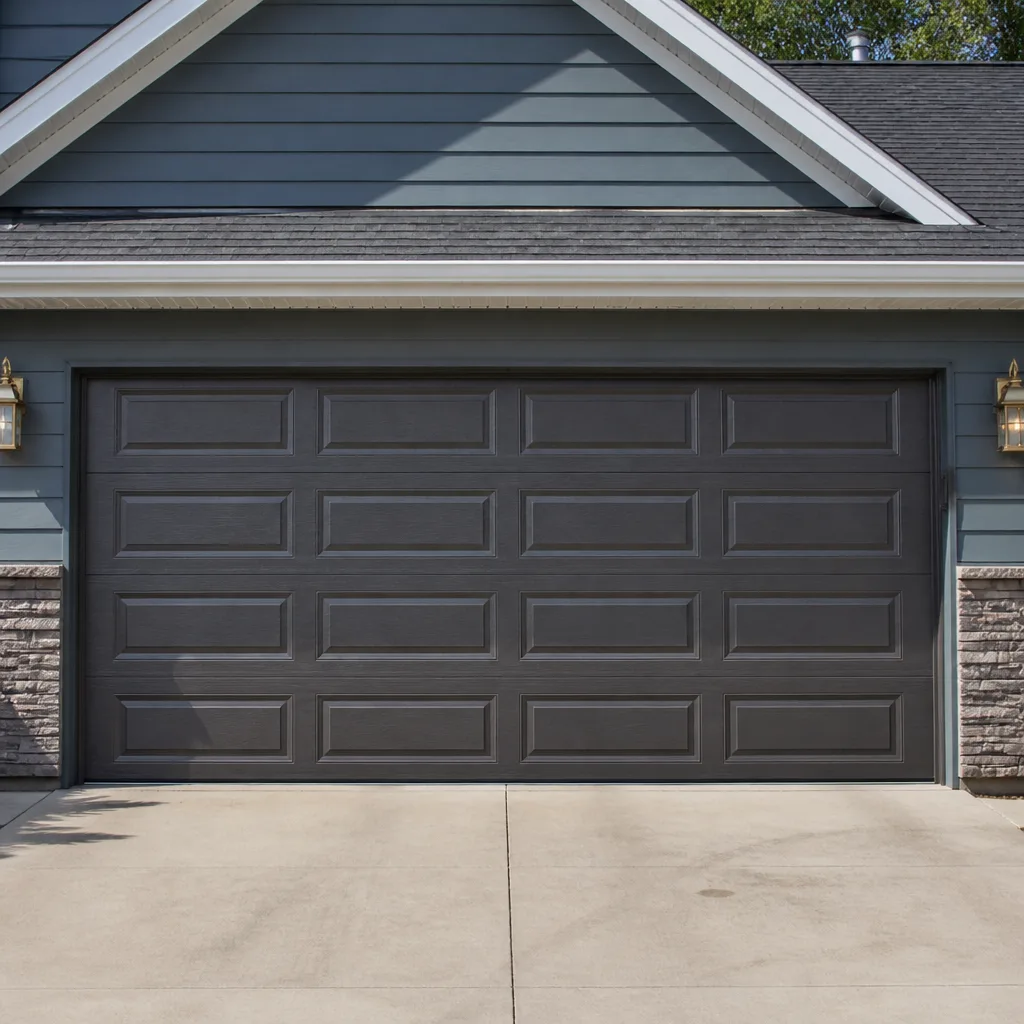 Raised-panel steel
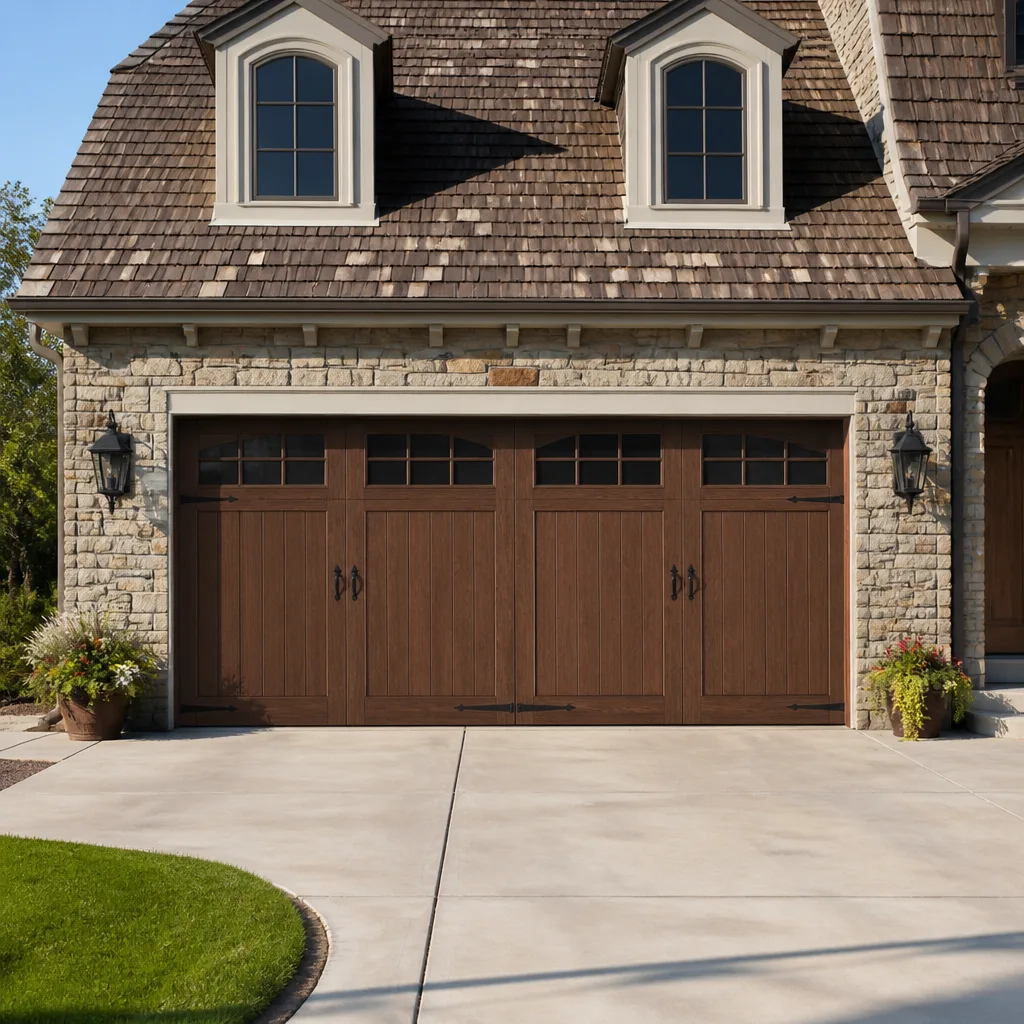 Carriage house
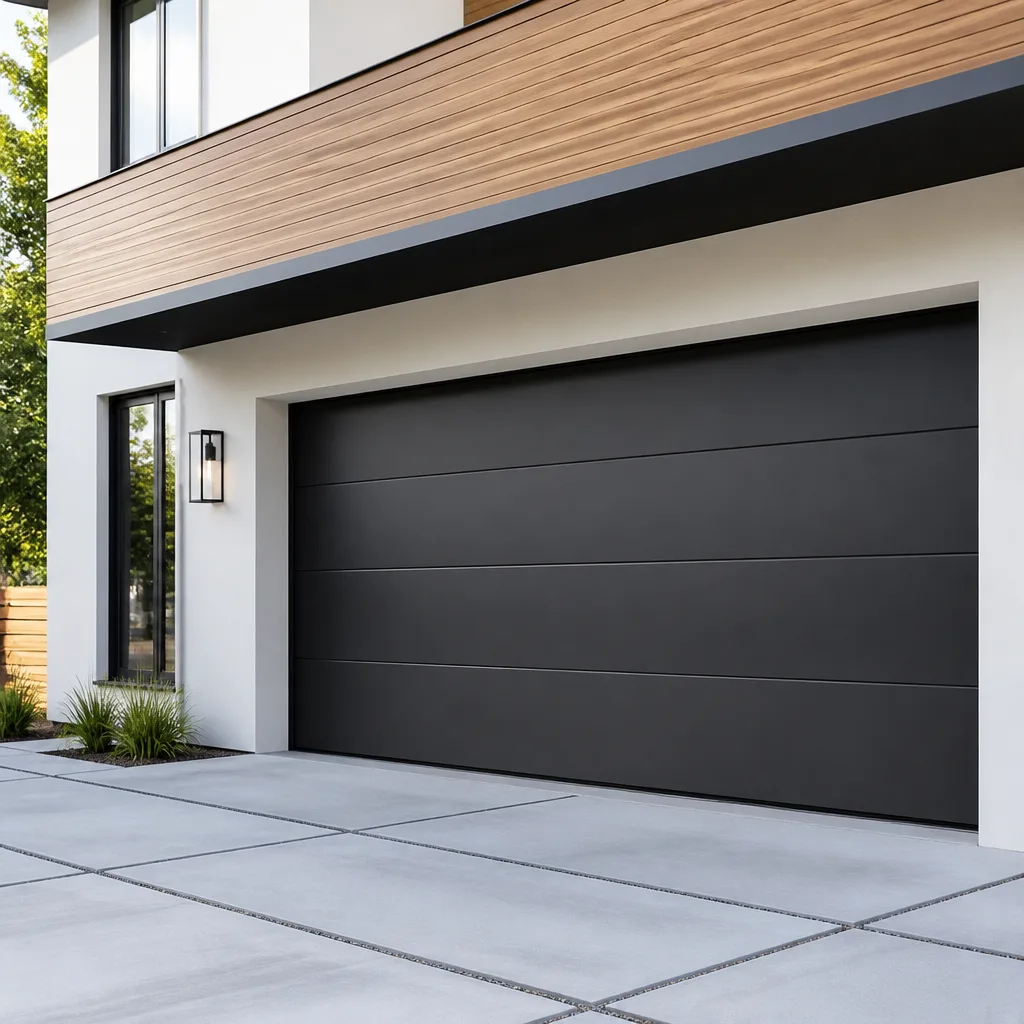 Modern flush
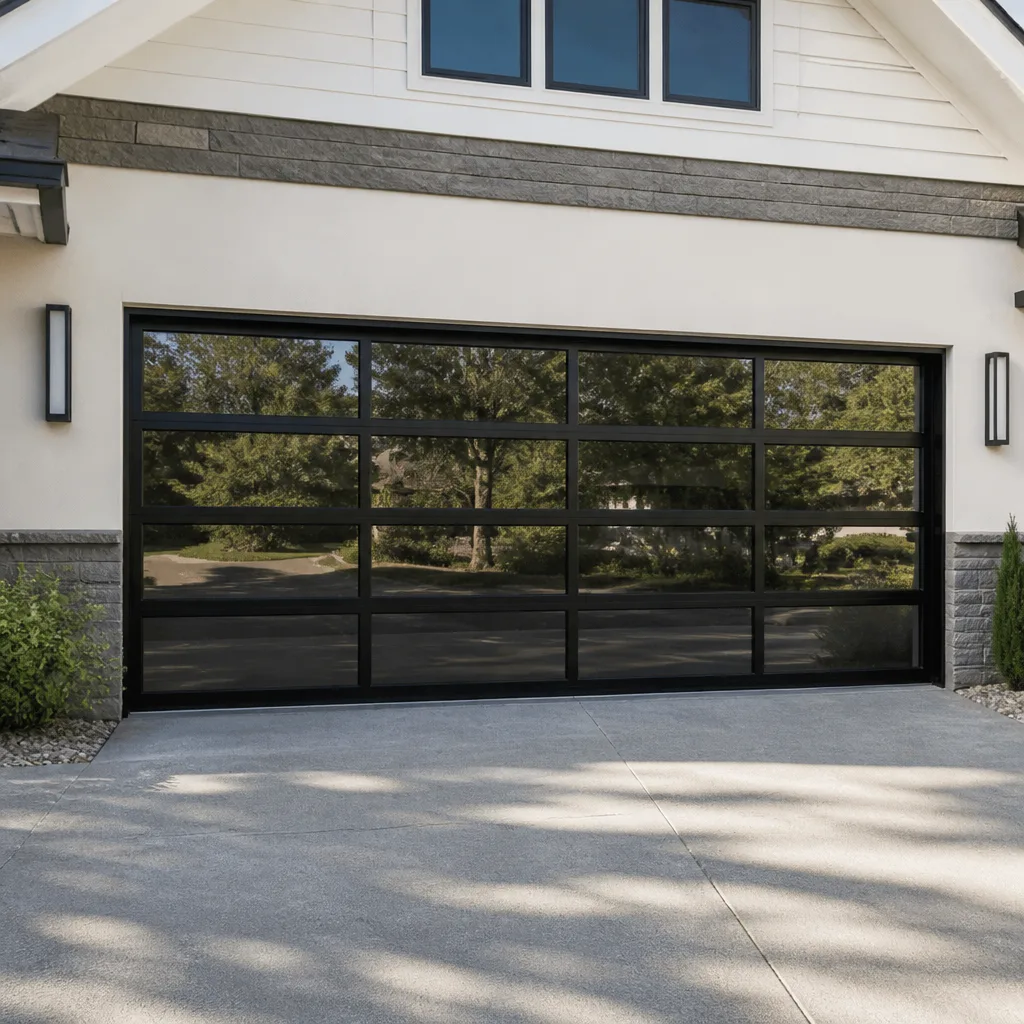 Full-view glass
 LiftMaster openers
 Chamberlain openers
Full 25-point door and opener safety check with every visit - springs, cables, rollers, tracks, and your LiftMaster or Chamberlain opener included
You get a price before we start. It does not change when the pro arrives.
Get your free estimateGarage Door Repair Maintenance Checklist for Meriden Homeowners
Most garage door maintenance advice is calendar busywork: spray something in April, tighten something in October, hope for the best. It sounds responsible, but it doesn’t tell you what you’re actually looking for, and it treats a broken spring the same as a squeaky hinge. We take a different approach. Every item on this checklist maps to a failure we actually get called out for, and each one includes the pass/fail line that tells you whether to keep going or pick up the phone. In Meriden, where garage doors take a real beating from wet winters and humid summers, a 20-minute inspection twice a year is the difference between a small adjustment and a $400 – $900 repair. Here’s exactly what to check, how to check it, and when to stop and call a specialist.
Quick Answer
Run a component-by-component inspection twice a year: springs, cables, rollers, hinges, tracks, weatherseal, and the two UL 325 safety tests (auto-reverse force and photo-eye alignment). Lubricate moving parts with the right product for each component, never grease on the tracks. Anything involving springs or cables is a visual check only; do not attempt to adjust or repair them yourself. If any item fails the pass/fail test below, that’s your signal to call a trained technician.
Styles & brands we work with
- Raised-panel steel
- Carriage house
- Modern flush
- Full-view glass
- LiftMaster openers
- Chamberlain openers
Table of Contents
- Why a Failure-Based Checklist Beats a Calendar Reminder
- Springs and Cables: What You Can Check and What You Can’t
- Rollers, Hinges, and Tracks: The Friction Points
- Lubrication: The Right Product for the Right Part
- The Two Safety Tests CT Homeowners Are Responsible For
- Weatherseal, Panels, and the Connecticut Season Split
- Seasonal Timing: What Matters Before Winter vs. Before Summer
- Pass/Fail Reference: When to Call vs. When to Wait
Why a Failure-Based Checklist Beats a Calendar Reminder
A calendar reminder tells you to look at your door. A failure-based checklist tells you what to look for and what “bad” looks like. That difference matters more than the schedule itself, because garage doors almost never fail without warning. In our experience handling emergency calls across Meriden, the overwhelming majority trace back to a warning sign that was visible weeks or months before the door stopped working: a stretched spring, a frayed cable, a roller that had worn flat, a photo-eye that had drifted out of alignment.
Meriden’s climate pushes these failures along faster than many homeowners expect. Freeze-thaw cycles work on metal fasteners and track alignment. Summer humidity swells wooden door panels and stresses weatherseal. A door that lives through both seasons without an inspection is a door accumulating small problems that eventually compound into one expensive one.
The point of this checklist isn’t to turn you into a garage door technician. It’s to help you spot the difference between a minor issue you can address and a developing failure you should hand to a professional before it becomes an emergency. Every section below follows the same format: what to inspect, how to inspect it, and the pass/fail line that decides your next step.
Springs and Cables: What You Can Check and What You Can’t
Springs and cables carry the full weight of the door. They are also the most dangerous components in the entire system, under extreme tension at all times, and the number one source of garage door injuries when homeowners try to adjust them.
What you can check
- Spring condition (visual only): With the door closed, look at the torsion spring above the door or the extension springs along the sides. A healthy spring has an even coil with no visible gaps. A spring with a visible gap or separated coil has broken. Do not touch it.
- Cable condition (visual only): Look for fraying, kinks, or rust along the length of each cable. Cables should run straight and sit cleanly in their drum. A cable that has jumped its drum or shows obvious fraying is a failure.
- Door balance: Disconnect the opener (pull the release handle with the door closed), lift the door halfway, and let go. A properly balanced door stays put. A door that drops or rises on its own has a spring or balance problem.
The hard stop
Never attempt to adjust, loosen, or remove a spring or cable. The stored energy in a torsion spring can cause serious injury in an instant, and there is no safe DIY method for this work. This is the item where “call a professional” is not a suggestion. Our garage door spring repair technicians work on springs every day and treat them with the caution they demand.
Pass/fail: Even coils, straight cables, and a balanced door pass. Any visible gap in a spring, any fraying or misrouted cable, or a door that won’t hold position is a fail; stop and call.
Rollers, Hinges, and Tracks: The Friction Points
These are the parts that wear gradually and quietly, which is exactly why they’re worth inspecting on a schedule. A worn roller doesn’t fail dramatically; it just makes the door louder, harder to move, and more of a strain on the opener until something gives.
Rollers
- Nylon rollers should be smooth and round with no flat spots. If a roller has worn flat or wobbles in its stem, replace it.
- Steel rollers should spin freely and show no rust or bearing noise. Grinding or squealing means the bearing is going.
- Check every roller visually; there are usually 10 to 12 on a standard two-car door.
Hinges
- Look for cracks at the hinge leaves or loose screws pulling out of the door. Hinges carry the load between panels, so a failing hinge stresses the panel next to it.
- Never replace a hinge with a different gauge or style; mismatched hardware accelerates wear on neighboring parts.
Tracks
- Run your hand along the inside of each track (door closed). It should feel smooth with no dents, kinks, or debris.
- Check that the vertical and horizontal tracks are parallel and that the gap between track and roller is even. A track knocked out of alignment by a bumped car or a settling floor is a common fail.
Pass/fail: Round rollers, intact hinges, and smooth, parallel tracks pass. Flat rollers, cracked hinges, or a dented or misaligned track fail; a technician can usually correct a track without replacing it, but only if it’s caught early. For general repairs like these, our garage door repair team handles the full range of component fixes.
Lubrication: The Right Product for the Right Part
Lubrication is where well-meaning maintenance does the most damage. The wrong product on the wrong part can attract grit, gum up the mechanism, or wash out the grease that’s supposed to be there. Here’s the component-by-component spec.
- Torsion springs and hinges: A garage-door-specific lithium or silicone lubricant. A light coat, not a heavy one. Too much attracts dust and dirt into the coils.
- Rollers: Nylon rollers generally need no lubrication. Steel rollers get a few drops of light oil at the bearing, nothing more.
- Tracks: Do not lubricate the tracks. This is the most common mistake. Grease in the tracks collects grit and turns into an abrasive paste that wears the rollers faster.
- Opener chain or screw drive: Use the lubricant the opener manufacturer specifies. For LiftMaster and Chamberlain units in the MyQ ecosystem, follow the manual; for older Craftsman or Genie openers, a light chain lubricant is standard.
- Weatherseal and panel edges: A silicone spray keeps rubber seals pliable through Meriden’s dry winter air and prevents cracking.
Lubricate twice a year: once in late fall before the cold sets in, and once in spring. Wipe off any excess. If the mechanism is already making grinding or popping sounds, lubrication won’t fix it; that’s a worn part, and it’s better handled by a specialist who can identify what’s failing.
The Two Safety Tests CT Homeowners Are Responsible For
Under UL 325, the safety standard for garage door operators, a residential garage door opener must have two working safety features: an automatic reverse function (force sensitivity) and a photo-eye safety system that stops and reverses the door if something crosses the beam. As the homeowner, you’re the one responsible for confirming these work. Both tests take about two minutes.
Test 1: Auto-reverse force
- Place a piece of wood or a firm object about the height of a 2×4 flat on the floor in the door’s path.
- Close the door using the opener.
- The door should stop and reverse when it contacts the object.
- If it presses down and keeps going, the force setting is too high or the opener has a fault. Stop using the door and call a technician.
Test 2: Photo-eye alignment
- Locate the two photo-eye sensors mounted near the floor on each side of the door.
- Check that both lenses are clean and that the indicator lights on each are steady (not flickering or off).
- With the door open, wave an object across the beam path. The door should reverse or refuse to close.
- If the door closes anyway, the eyes are misaligned or failing. Realign or call for service.
These are the two tests that protect children, pets, and anyone walking under the door. A failing auto-reverse or a dead photo-eye is a safety issue, not a convenience one, and shouldn’t wait. If the opener itself is behaving unpredictably, our garage door opener repair covers diagnosis and correction across LiftMaster, Chamberlain, Genie, and Craftsman units.
Weatherseal, Panels, and the Connecticut Season Split
Meriden’s weather does its work on the parts of the door that face outside. The bottom weatherseal, the side and top seals, and the panels themselves are where moisture, cold, and heat show up first.
- Bottom weatherseal: Check for cracks, flattening, or gaps between the seal and the floor. A hard, cracked, or missing seal lets in water, cold air, and pests. If the seal no longer touches the floor evenly across the width of the door, it needs replacing.
- Side and top seals: Look for tears, gaps, or peeling. These are common winter failure points because ice and snow get behind them.
- Panels: Look for dents, rust, or soft spots, particularly along the bottom panel where water sits. Grime along the bottom edge holds moisture against the finish; clean it off before it becomes rust.
- Hardware fasteners: In a door that faces a Connecticut winter, bolts and screws loosen. Check that hinges and brackets are snug, but don’t over-tighten and strip them.
Wooden doors, and steel doors with a wood-grain finish like some Clopay and Amarr models, need particular attention to the bottom edge and around the window inserts, where water finds its way in. Painted or finished doors benefit from a check of the finish each spring. If panels have gone soft, rusted through, or taken on water, a repair or replacement panel may be the answer; our team handles the full repair-to-replace range for these brands. For more on the broader service picture, see our main Garage Door Repair Meriden page.
Pass/fail: A seal that makes contact evenly and panels that are solid and dry pass. A seal that’s cracked or no longer touching the floor, or a panel that’s rusted or soft, fails.
Seasonal Timing: What Matters Before Winter vs. Before Summer
You don’t need to do the whole checklist every month. Twice a year is enough, but which items matter more depends on the season.
Before winter (late fall)
- Weatherseal condition, front and center. This is the seal that keeps cold air and water out, and the one that degrades fastest through freeze-thaw.
- Lubricate springs, hinges, and opener chain before the cold stiffens the mechanism.
- Check door balance; a door that strains in the cold can fail a spring.
- Clear tracks of debris and confirm they’re parallel; ice and grit love a misaligned track.
- Test the auto-reverse and photo-eyes; cold can affect opener force settings.
Before summer (spring)
- Inspect panels and the bottom edge for moisture damage or rust after the wet season.
- Check rollers and hinges for wear from winter use.
- Re-lubricate where needed and wipe away grit.
- Look for evidence of pests or water intrusion around the seal and track base.
- Re-test the safety features; they should be tested twice a year regardless of season.
Wayne Dalton and Genie systems in particular have specific opener and hardware characteristics worth knowing; a specialist familiar with the brand will catch season-driven wear faster than a general checklist can. If you’re not sure what you’re looking at, a professional inspection takes the guesswork out of it.
Pass/Fail Reference: When to Call vs. When to Wait
Here’s the short version, organized so you can use it as a decision table.
- Spring with a visible gap or separated coil: Fail. Do not operate the door. Call immediately.
- Frayed, kinked, or misrouted cable: Fail. Stop using the door. Call.
- Door won’t hold position when released halfway: Fail on balance. Call for a spring/balance check.
- Flat or wobbly rollers: Fail. Replace; can be scheduled, not urgent unless the door struggles.
- Cracked hinge or loose fastener: Fail. Schedule repair before it stresses the panel.
- Dented or misaligned track: Fail. Schedule; avoid forcing the door in the meantime.
- Auto-reverse doesn’t trigger: Fail on safety. Stop using the opener and call.
- Photo-eye misaligned or dead: Fail on safety. Realign if it’s a simple beam obstruction; otherwise call.
- Cracked bottom seal or gap to the floor: Fail. Replace; can be scheduled.
- Rusted or soft panel: Fail. Repair or replace panel; schedule an assessment.
- Slight noise, minor squeak, or clean tracks: Handle with lubrication and a re-check in a few weeks.
When in doubt, treat it as a “call” item. The cost of a diagnostic visit is far less than the cost of a failed spring or a door that comes off track. If you want a trained eye on the whole system, our team offers free estimates in Meriden.
Common Mistakes to Avoid
- Greasing the tracks. The tracks should be dry and clean. Grease traps grit and grinds the rollers down faster than no lubrication at all.
- Using WD-40 as a lubricant. It’s a solvent, not a lubricant. It can wash out the grease that’s supposed to be there and leave the mechanism drier than before. Use a garage-door-specific lubricant.
- Adjusting springs yourself. This is the single most dangerous mistake a homeowner can make. Springs are under extreme tension and can cause serious injury. Leave them to a trained technician.
- Ignoring a slow reverse. A door that hesitates or slows near the bottom is showing a developing spring or opener problem, not just “getting old.” Get it checked before it fails.
- Skipping the safety tests. UL 325 requires working auto-reverse and photo-eyes. Testing them twice a year takes two minutes and protects the people who use the door.
- Mismatched replacement parts. A roller or hinge that’s the wrong gauge or style wears out its neighbors. Match the part to the door, or let a specialist with brand familiarity (LiftMaster, Chamberlain, Genie, Clopay, Amarr, Wayne Dalton, Craftsman, Raynor) source the right one.
- Waiting until the door stops working. The failure-based point of this checklist is that the warning signs show up early. Catching them means a small repair instead of a $400 – $900 fix.
See the difference
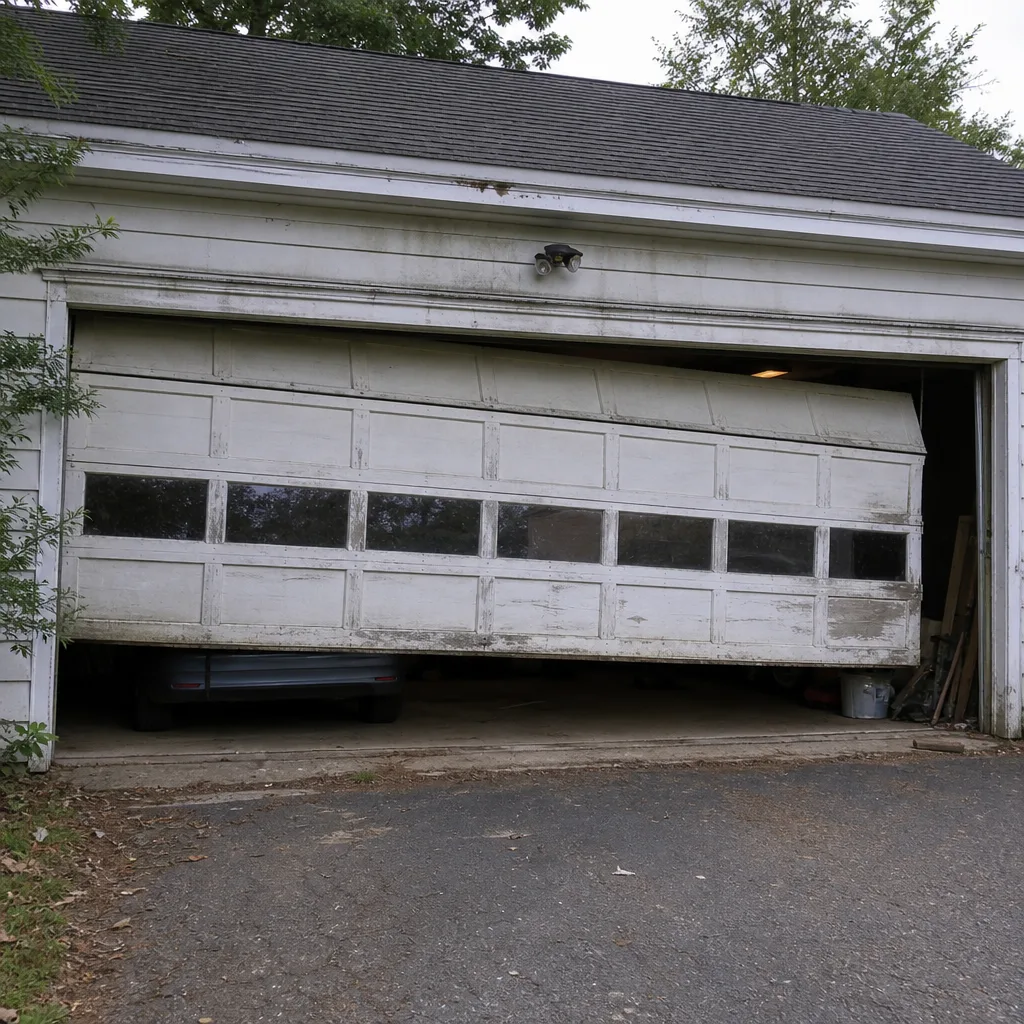 Before
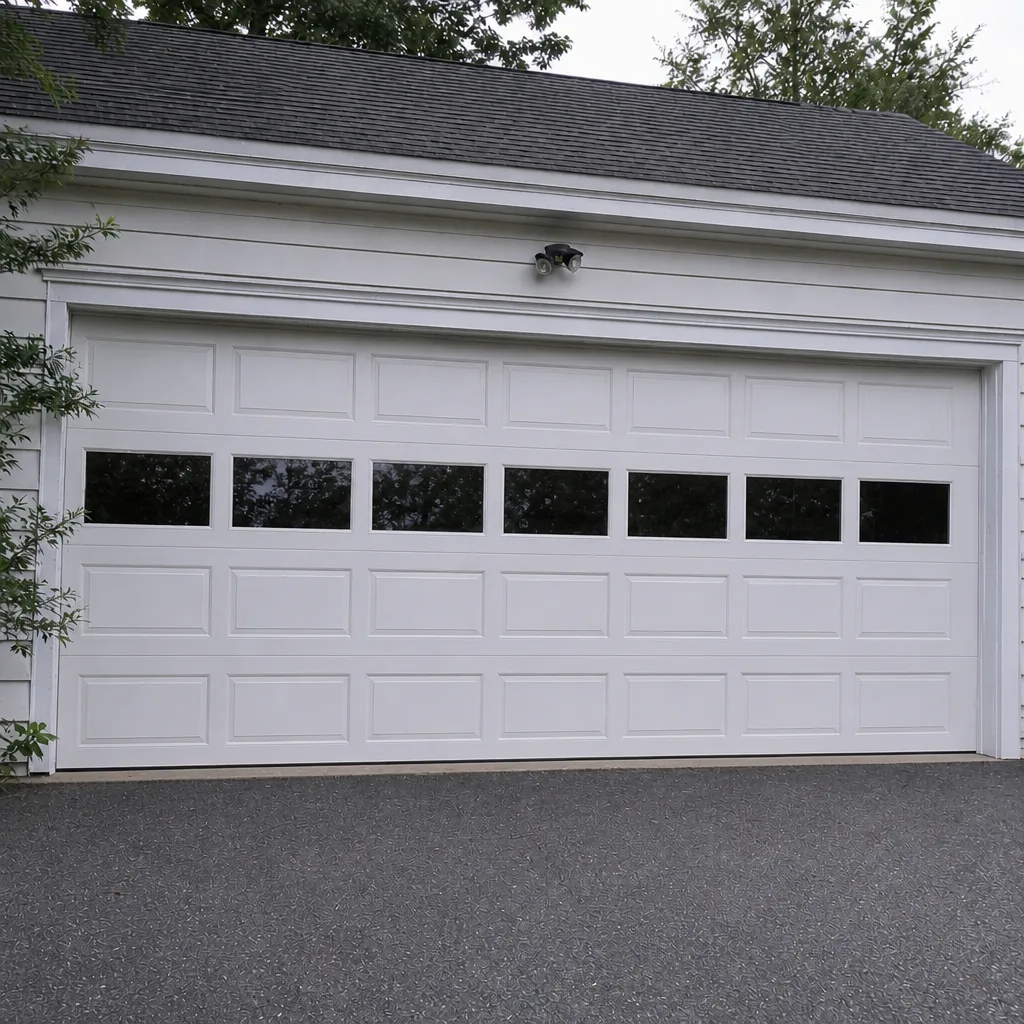 After
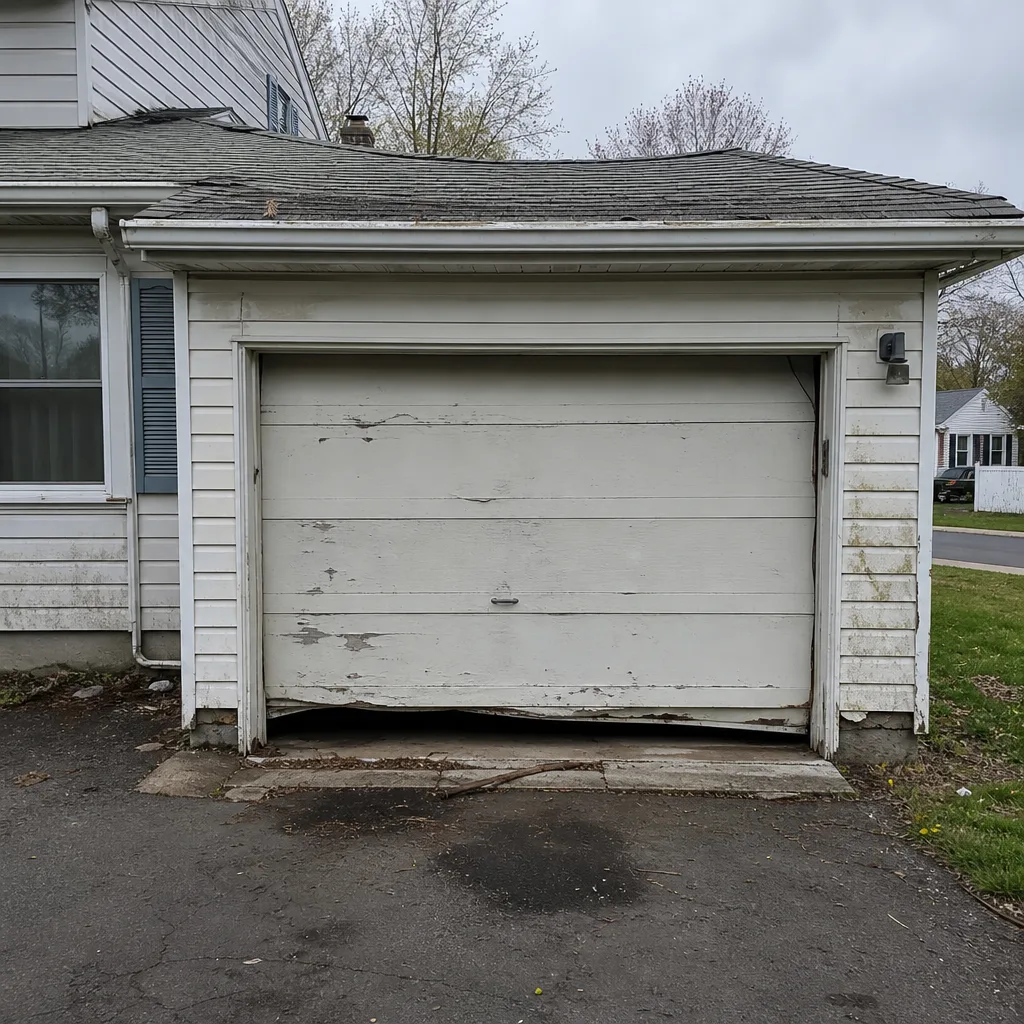 Before
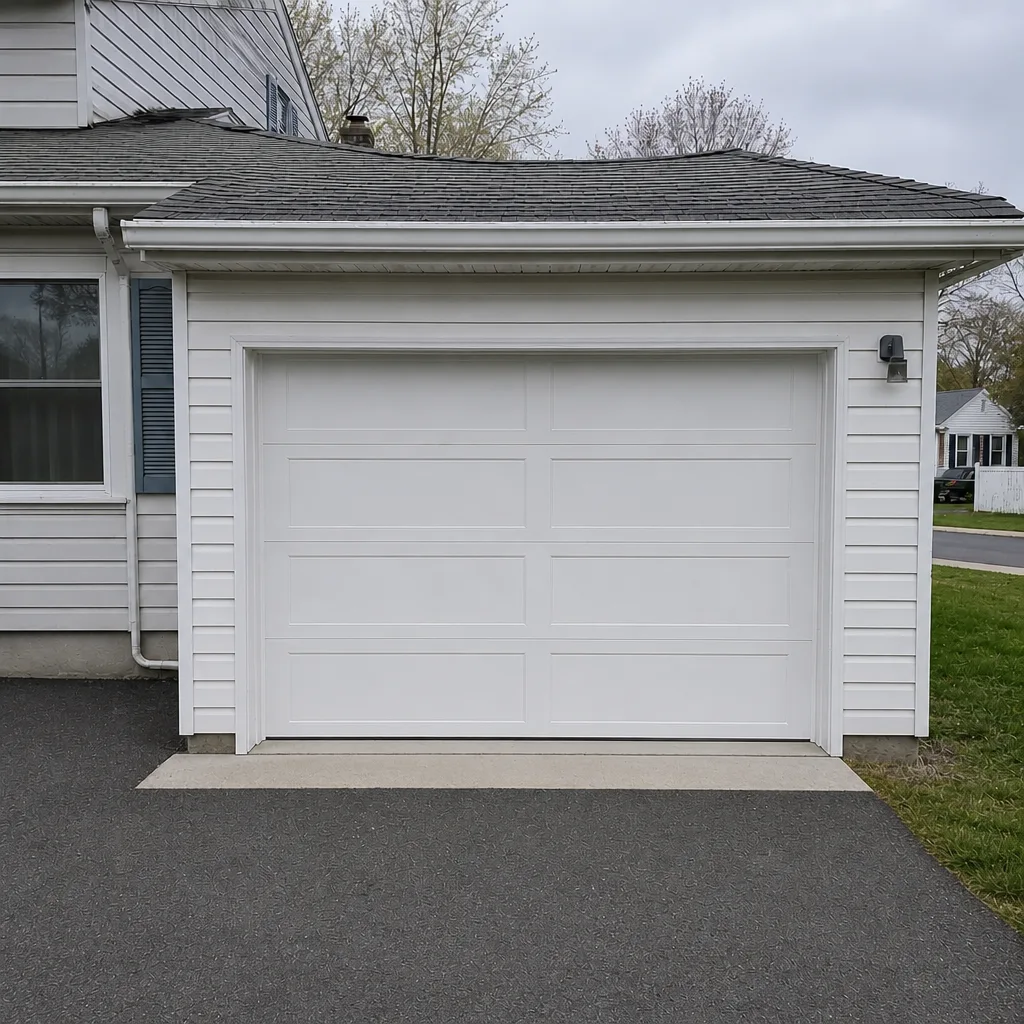 After
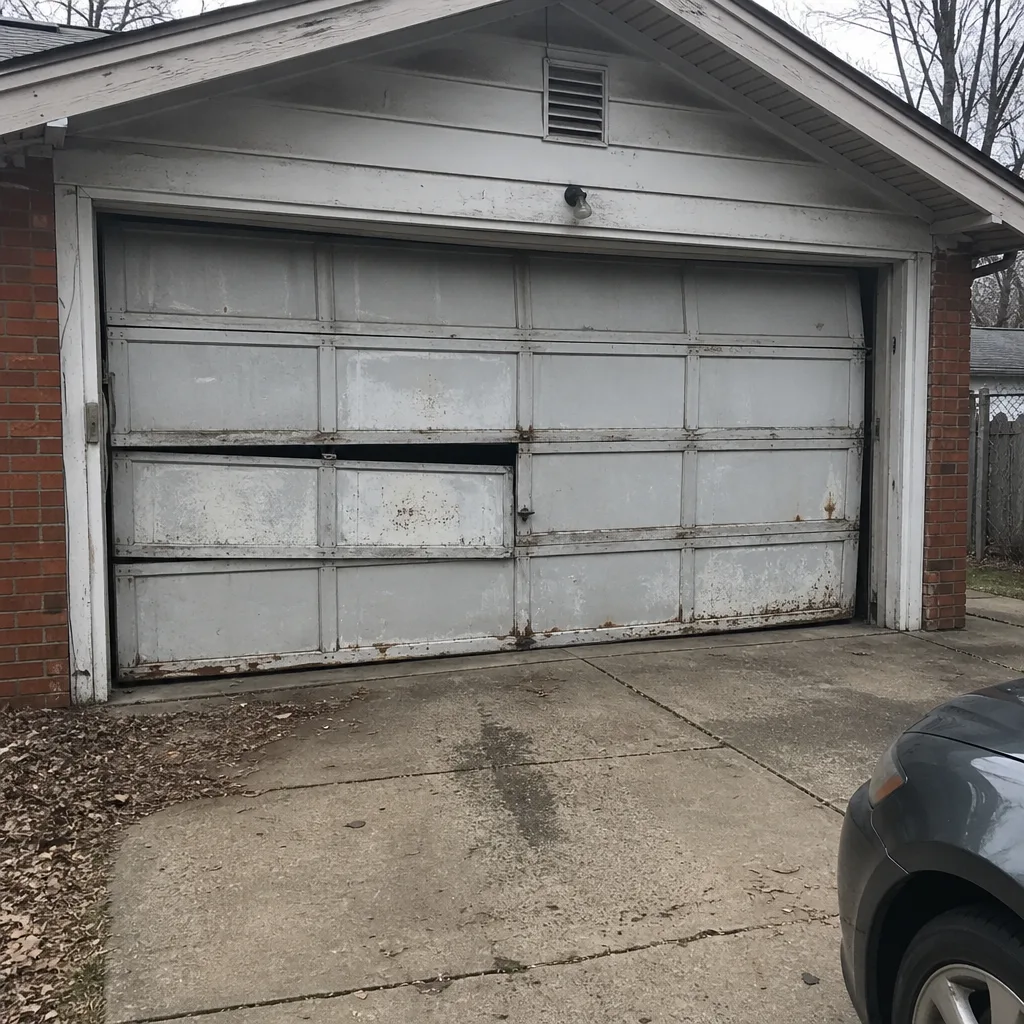 Before
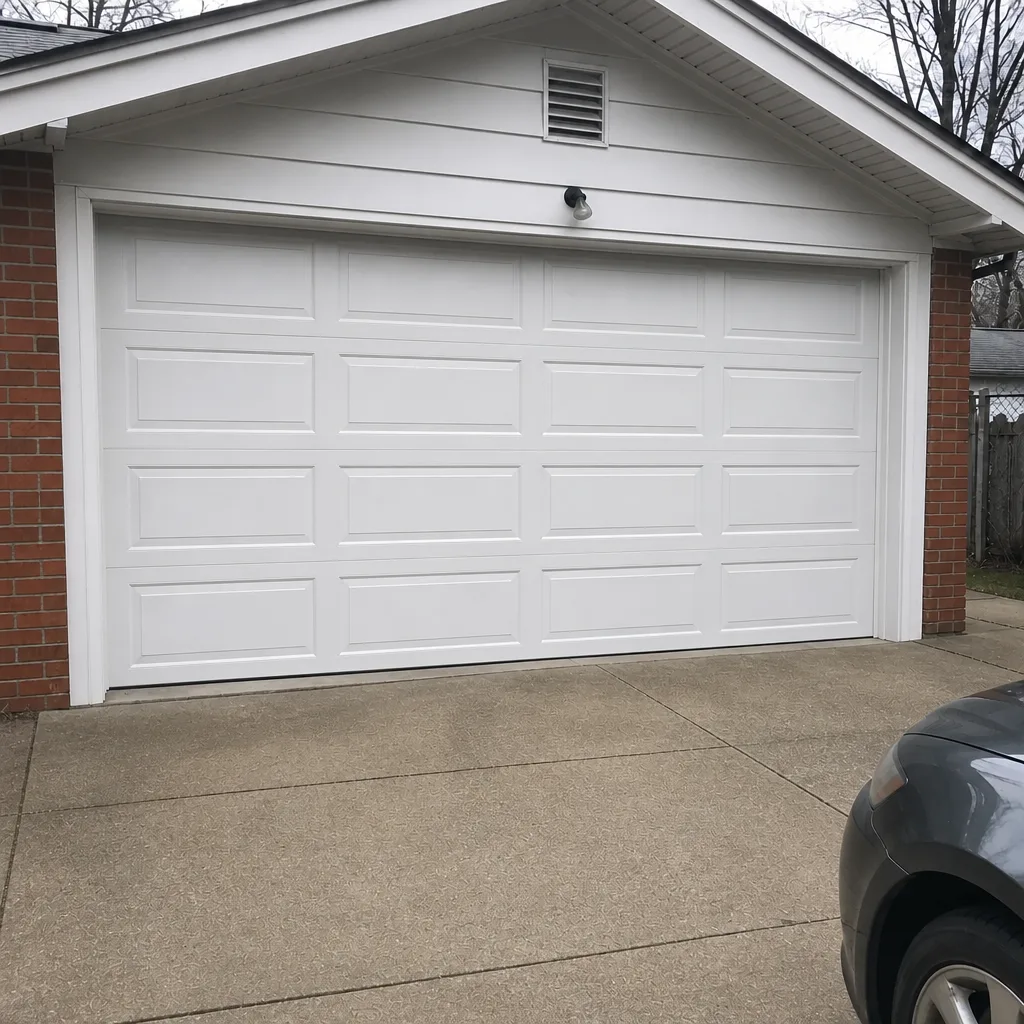 After
When to Call a Professional
Some items on this list are yours to handle: wiping the tracks, lubricating hinges, replacing a worn weatherseal. Others are not. Call a professional if a spring has broken or shows a visible gap, if a cable is frayed or off its drum, if the door won’t balance when released, if the auto-reverse or photo-eye fails, or if the opener behaves unpredictably. Call immediately if the door won’t close, is off its track, or is stuck open; those are security and safety issues, and emergency service is available for situations that can’t wait. Garage Door Repair Meriden offers free estimates in Meriden, and our technicians have up to 12 years of experience across every brand and failure point. Call (833) 679-1963 to get back up and running.
Frequently Asked Questions
Twice a year is the right cadence: once in late fall before winter and once in spring. The two safety tests (auto-reverse and photo-eye) are quick enough to repeat more often, and any time the door starts making new noises or hesitating, run the relevant section early. Meriden’s freeze-thaw cycle makes the fall and spring checks especially worthwhile because that’s when seals, fasteners, and springs take the most stress. If you’re unsure whether something passes, call (833) 679-1963 for a free estimate.
You can apply a light garage-door-specific lubricant to the visible coils of a torsion or extension spring with the door closed, but only if the spring is intact. If there’s any gap, break, or separation, do not touch it; a broken spring is under extreme tension and is dangerous. Never attempt to adjust, loosen, or remove a spring, and never lubricate cables. For anything beyond a light surface coat on an intact spring, leave it to a specialist. Call (833) 679-1963 for a free estimate if you see damage.
The two tests are the auto-reverse force test (the door should stop and reverse when it contacts an object) and the photo-eye test (the door should reverse or refuse to close when the beam is broken). Both are required on residential openers under UL 325, and as the homeowner you’re responsible for confirming they work. They protect children, pets, and anyone walking under the door, so test them twice a year. If either fails, stop using the opener and call (833) 679-1963.
No. When one spring breaks on a two-spring door, the remaining spring carries more load than it was designed for, and the door can come down unexpectedly. Stop using the door, leave it closed, and call a professional. Both springs in a matched pair are typically replaced together. Call (833) 679-1963 for a free estimate; estimates are free and the price is agreed before any work starts.
Most repairs fall in the $150 – $350 range for a single component, while spring replacement and larger fixes run $400 – $900 depending on the door. A spring price is for one spring; a matched pair is usually replaced together, so a pair costs about twice that. The written estimate sets the final price, and we quote and agree on it before any work begins. Call (833) 679-1963 for an exact quote; estimates are free.
We service all eight major garage door and opener brands: LiftMaster, Chamberlain, Genie, Clopay, Amarr, Wayne Dalton, Craftsman, and Raynor. That means we diagnose faster and source the correct parts the first time, whether it’s a smart-home opener in the MyQ ecosystem or a legacy Craftsman unit. If you’re not sure of your brand, describe the door and opener and we’ll identify it. Call (833) 679-1963 for a free estimate.
The Bottom Line
A good garage door maintenance checklist isn’t about following a calendar; it’s about knowing what failure looks like before it happens. The eye can catch most problems 30 to 90 days before they turn into an emergency: a stretching spring, a fraying cable, a flat roller, a photo-eye that’s drifted. Run the safety tests twice a year, lubricate the right parts with the right product, inspect the weatherseal before winter and the panels before summer, and use the pass/fail list to decide when a small check becomes a professional call. In Meriden, that 20-minute habit is the difference between a quick repair and a $400 – $900 emergency. When you’re ready to have a trained eye confirm everything, call (833) 679-1963 for a free estimate.
Written by the team at Garage Door Repair Meriden.